Light can make or break a photo. Hard light creates harsh shadows. It makes skin look rough. It adds lines and texture you don't want.
That's where diffusers come in.
A light diffuser softens your light source. It spreads light evenly across your subject. The result? Soft light that looks natural and flattering.
This guide will teach you how to use light diffusers the right way. You'll learn what they do, how they work, and when to use them. .
What Is a Light Diffuser?
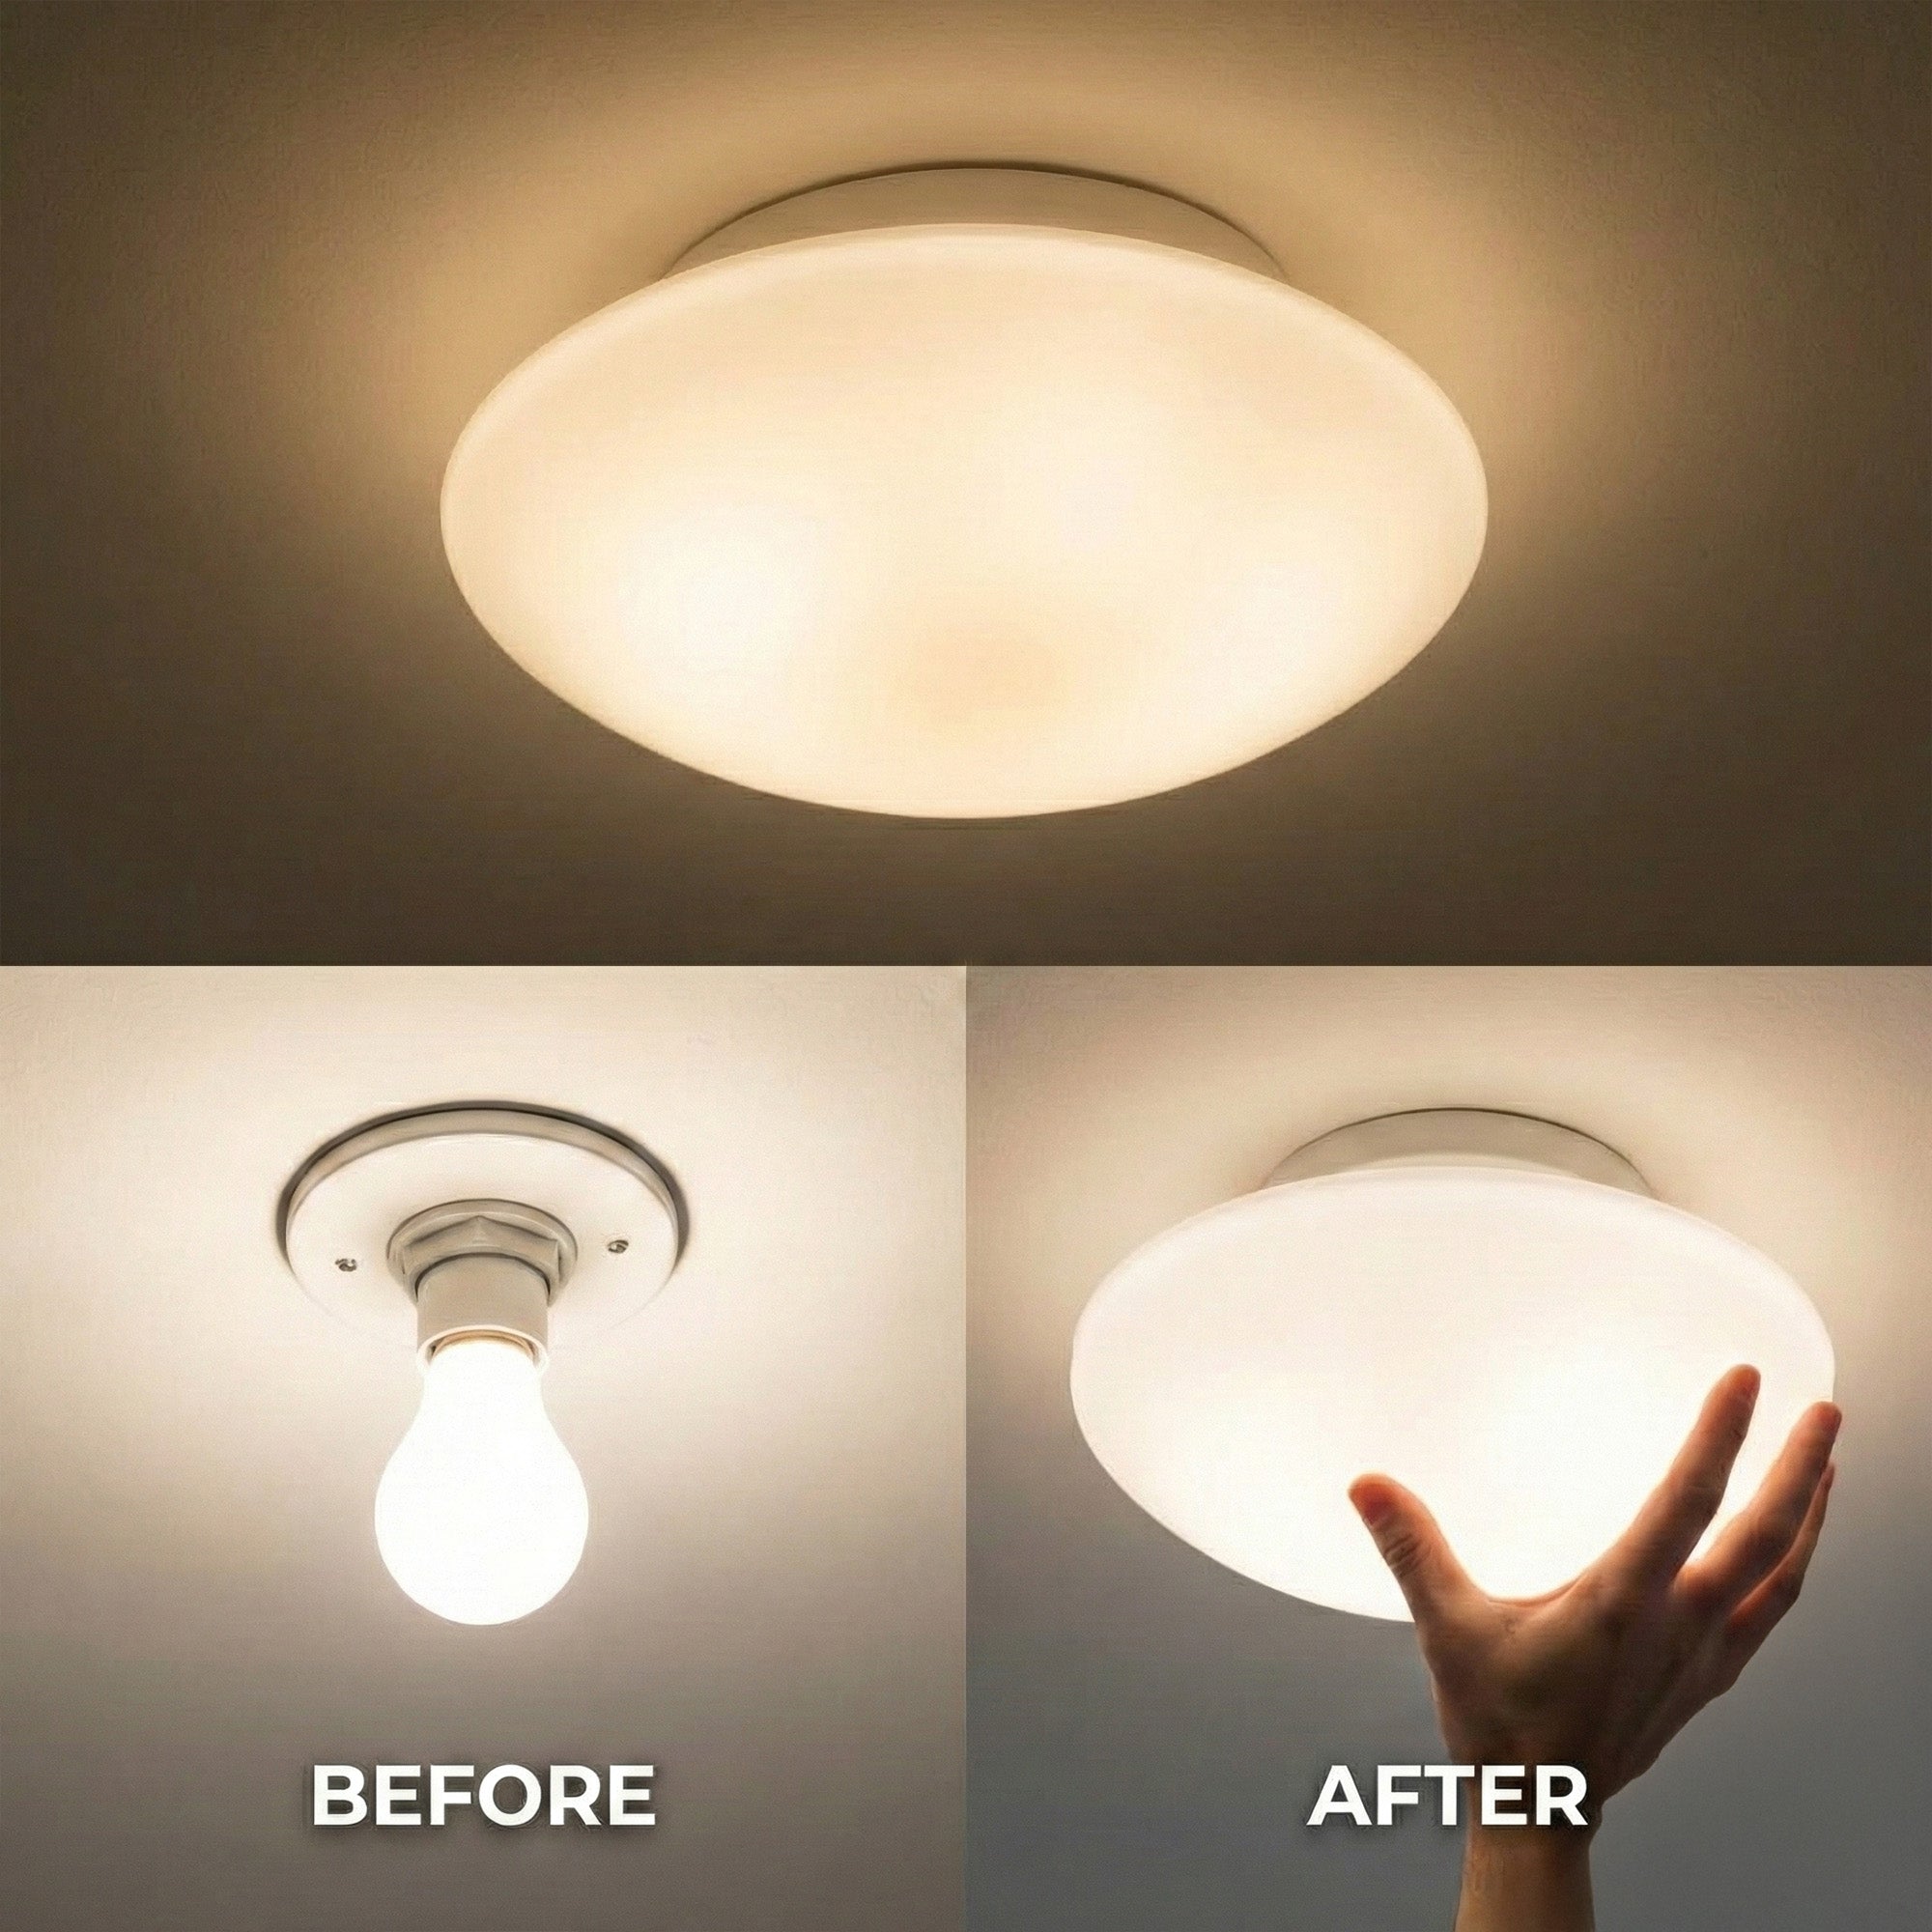
A light diffuser is a tool that softens light. It sits between your light source and your subject. The diffuser spreads the light out. This creates diffused light that wraps around your subject.
Diffusers are made from thin materials. Common options include:
-
White fabric
-
Translucent plastic
-
Paper
-
Nylon
These materials let light pass through. But they scatter the light rays first. This turns a small, harsh light source into a large, soft one.
Most studio photographers keep several diffusers in their camera bag. They're essential for portrait work. They help with product photography too.
Photographers looking for more techniques can explore this B&H Photo light modifier guide.
How Do Light Diffusers Work?
Understanding how diffusers work helps you use them better.
Light travels in straight lines from its source. A bare bulb sends light in all directions. But each ray goes straight. When this direct light hits your subject, it creates hard light.
Hard light has sharp edges. It makes deep, dark shadows. It shows every pore and wrinkle.
When you use a diffuser, something changes. The light hits the diffuser first. The translucent material scatters the rays. They bounce around inside. Then they exit at many different angles.
This does two things:
-
It makes the light source appear larger
-
It softens the transition from light to shadow
The bigger your light source, the softer your light. That's the key rule in light photography. A large diffuser creates softer light than a small one.
Diffusers work with any light. They soften natural light from the sun. They tame artificial light from strobes. They improve the output from studio lights.
Why You Need Diffused Light
Diffused light solves many problems at once.
First, it removes harsh shadows. Direct light from a small source creates deep, black shadows. These look unnatural. Diffused light creates soft shadows instead. They fade gently from light to dark.
Second, diffused light is flattering light. It smooths skin. It hides blemishes. It wraps around your subject. This is why diffused light photography is standard for portraits.
Third, diffused light reduces bright reflections. Shiny surfaces bounce direct light right back at your camera. This creates hot spots. A diffuser spreads the light out. The reflections become softer and less distracting.
Fourth, diffused light photography helps with product shots. You want even light across the entire subject. No bright spots. No dark patches. Diffused light delivers this.
Types of Light Diffusers
You have many diffuser options. Each type has its strengths. Let's look at the most common ones.
Softboxes
A softbox is a box-shaped light modifier. It has reflective walls inside. The front has a diffusion panel.
For a deeper look at the physics behind light diffusion, see this reference on diffuser optics from Wikipedia.
Light enters the back. It bounces around inside. Then it passes through the front panel. The result is soft, even light.
A rectangular softbox is popular for studio portraits. It creates catchlights that look like windows. This mimics beautiful light from a real window.
Softboxes come in many sizes. Larger ones produce softer light. Smaller diffusers are easier to move around. Most studio photographers own several sizes.
Umbrella Diffusers
Umbrella diffusers are simple and cheap. They look like rain umbrellas. But they're made from translucent or reflective material.
You can use umbrella diffusers two ways:
-
Shoot through: The light passes through a white umbrella. The umbrella acts as the diffuser. This creates soft, broad light.
-
Bounce: The light bounces off the inside of the umbrella. The umbrella becomes the light source. This also creates diffused light.
Umbrella diffusers fold up small. They're great for outdoor shoots. They set up in seconds.
Scrims and Panels
A scrim is a translucent screen on a frame. You place it between your light source and subject. The light passes through and softens.
Scrims work well outdoors. They tame direct sunlight. They turn a sunny day into overcast-like conditions.
Large scrims can cover your entire subject. Smaller diffusers work for headshots and close-ups.
Flash Diffusers
A flash diffuser attaches to your camera flash or speed light. It softens the harsh output from the small flash head.
Flash diffusers come in many forms:
-
Dome diffusers that fit over the flash head
-
Mini softboxes for your speed light
-
Bounce cards that redirect light
Flash photography without a diffuser often looks harsh. The camera flash is small. It creates hard light with harsh shadows. A flash diffuser fixes this problem.
Beauty Dish
A beauty dish is a shallow, circular light modifier. It produces a unique light quality. The light is soft but still has some punch.
A beauty dish creates more contrast than a softbox. But it's softer than hard light from a bare bulb. Many portrait photographers love this look.
The beauty dish works best as a key light. It gives skin a healthy glow. It defines features without being harsh.
DIY Options
You can make your own diffuser. Many materials work.
-
White shower curtains
-
Thin white bedsheets
-
Wax paper
-
Frosted plastic
Even aluminum foil can help. Crumple it up. Flatten it out. Use it as a reflector on the opposite side from your main light. This adds fill light to shadow areas.
Making your own diffuser costs almost nothing. It's a great way to experiment.
How to Use a Diffuser Step by Step
Let's walk through the basic process.
Step 1: Identify Your Light Source
What light are you working with? Is it natural light from a window? A studio strobe? An off camera flash?
Different light sources need different approaches. But the basic idea stays the same.
Step 2: Position Your Diffuser
Place the diffuser between the light and your subject. The diffuser should face your subject directly.
For classic portraits, try this: Put your main light at a 45-degree angle to your subject. Place the diffuser in front of it. This creates depth without harshness.
Step 3: Adjust the Distance
The distance matters a lot. Move the diffuser closer to your subject for softer light. Move it farther away for slightly harder light with more contrast.
Also, increase the distance between your light source and the diffuser. This gives the light rays time to spread out before hitting the diffusion material.
Step 4: Check Your Light Quality
Take a test shot. Look at the shadows. Are they soft shadows with gentle edges? Or are they still too harsh?
If the light is still too hard, use a large diffuser. Or move the diffuser closer to your subject.
Step 5: Add Fill if Needed
Diffused light helps. But you might still have shadows on one side. Use reflectors and diffusers together to solve this.
Place a white reflector on the opposite side. It will bounce light back into the shadows. Silver reflectors add more punch. A white reflector gives subtle fill light.
Using Diffusers with Natural Light
Natural light from the sun is free. But it's not always easy to work with. Direct sunlight on a sunny day creates hard light. The shadows are harsh.
You can use a diffuser to fix this. Hold a large diffuser between the sun and your subject. The diffused light will look like soft, overcast light.
This works great for outdoor shoots. Portrait photographers use this technique often. The subject stays comfortable. The light stays soft.
Even bright sunlight becomes workable. The translucent screen blocks some light. What passes through is soft and even.
Window light is another natural option. It's already somewhat diffused. But if the sun hits the window directly, it can still be harsh. Hang a thin white curtain. It acts as a diffuser. The light quality improves instantly.
Using Diffusers with Artificial Light
Artificial light gives you control. You decide where it goes. You control how bright it is. But without diffusion, it's often too hard.
Studio lights usually have bare bulb outputs. This creates direct light with harsh shadows. A diffuser transforms the light output into something more usable.
Here's how to set up:
-
Mount your strobe or continuous light
-
Attach a softbox or umbrella diffuser
-
Position the light at your desired angle
-
Adjust power to get proper exposure
The diffuser increases the size of your light source. This is what creates soft light. A small flash bulb becomes a large, glowing panel.
Most studio photographers use diffused light for nearly everything. It's more flattering. It's easier to work with. It produces professional results.
Using Diffusers with Flash Photography
Flash photography has special challenges. The camera flash or speed light is tiny. It creates extremely hard light.
On-camera flash looks flat and harsh. The light comes from the same direction as the lens. This erases shadows completely. Or it pushes them directly behind the subject.
A flash diffuser helps some. It spreads the light a bit. But the best light comes from off camera flash setups.
Move your flash off camera. Put it to one side. Add a diffuser in front. Now you have directional light that's also soft. This creates depth and dimension.
A pop up flash on your camera can also benefit. Small diffuser attachments spread the light. The results aren't perfect. But they're better than bare flash.
For better results, use bounce flash. Aim your flash head at a white ceiling or wall. The light bounces back and spreads out. The ceiling becomes your light source. It's now large. The light becomes soft.
This works in rooms with light-colored ceilings. It doesn't work outdoors. For outdoor shoots, bring a flash diffuser or small softbox for your speed light.
Positioning Tips for Best Results
Where you put the diffuser matters as much as which diffuser you choose.
Distance from Subject
Move the diffuser closer to your subject. The light gets softer. This is a key rule in light diffuser photography.
Think about it this way: The diffuser becomes your new light source. A large light source close to the subject wraps light around them. Shadows fill in naturally.
Distance from Original Light
Also consider the distance between your light source and diffuser. More distance lets the light spread out before hitting the diffuser. This uses more of the diffusion panel.
Angle to Subject
Try different angles. A light directly in front creates flat lighting situation. Good for beauty shots. Bad for drama.
A light from the same side as your camera creates basic lighting. Easy and safe.
A light from the opposite side creates rim lighting. More dramatic. Highlights edges.
Most photographers start with the light at a 45-degree angle. This creates depth. The light hits one side more than the other. But it's not extreme.
Height of Light
Raise your diffuser above your subject's eye level. Angle it down slightly. This mimics natural sunlight. It looks natural.
Light from below looks unnatural. It creates unflattering shadows under the nose and chin. Avoid this unless you want a spooky effect.
Reflectors and Diffusers: What's the Difference?
People often confuse reflectors and diffusers. They work together. But they do different things.
A diffuser goes between the light and subject. Light passes through it. The diffuser softens the light.
A reflector bounces light. It doesn't let light through. It redirects light that would otherwise be lost.
Use reflectors and diffusers together for best light. The diffuser softens your main light. The reflector adds fill light to the shadows.
Here's a common setup:
-
Main light with a large diffuser on one side
-
Silver reflectors or white reflector on the opposite side
-
Subject in the middle
The diffused light creates soft shadows. The reflector fills those shadows slightly. The result is balanced, flattering light.
Reflectors come in different surfaces:
-
White: Subtle, natural fill light
-
Silver: Brighter, cooler fill
-
Gold: Warm fill light
Silver reflectors add punch. They create bright reflections. White gives a softer look.
Common Mistakes to Avoid
Even experienced photographers make these errors.
Using Too Small a Diffuser
Smaller diffusers don't soften light much. If your light is still harsh, get a bigger diffuser. Size matters more than anything.
Placing the Diffuser Too Far Away
Distance reduces softness. Keep your diffuser close to the subject. The closer, the better.
Forgetting to Compensate Exposure
Each layer of diffusion reduces light output. Your photos will be darker. Increase your light source power. Or open up your camera settings.
Using Only a Diffuser
Diffused light alone can look flat. Add a reflector for fill light. Or use a second light. Create some directional light for depth.
Ignoring the Background
Soft light on your subject is great. But check the background too. Make sure the lighting situation works for the whole frame.
Choosing the Right Diffuser Size
Size affects everything. Here's a simple guide:
-
Small diffusers: Good for macro photography and headshots. Easy to carry. Good for tight spaces.
-
Medium diffusers: Versatile for half-body portraits. Work well in a home photography studio.
-
Large diffusers: Best for full-body shots. Cover the entire subject. Create the softest light.
A rectangular softbox around 24x36 inches works for most studio portraits. It's large enough to create soft light. It's small enough to control.
For outdoor shoots on a sunny day, a large scrim helps. Look for at least 4x6 feet. This covers your subject fully.
Maintaining Your Diffusers
Diffusers need some care. They collect dust. This reduces light output over time.
Clean your diffusers every 3-6 months. Use a soft cloth. Wipe gently. Don't use harsh cleaners.
Check for tears or holes. Even small damage affects light quality. Replace damaged diffusion panels.
Store diffusers flat or properly folded. Don't crease the material. Creases create uneven light patterns.
Achieving Your Photographic Vision
Every photographer has a unique photographic vision. Diffusers help you achieve it.
Want soft, dreamy portraits? Use a large diffuser close to your subject.
Want some punch with soft shadows? Try a beauty dish.
Want even light for product photography? Use a large diffuser overhead.
The tools serve your vision. Learn how each diffuser affects your light. Then choose based on what you want to create.
Frequently Asked Questions
How Do You Use a Light Diffuser?
Place the diffuser between your light source and your subject. The light passes through the diffuser. This softens it. Move the diffuser closer for softer light. Use a larger diffuser for even softer results.
How Do Light Diffusers Work?
Diffusers work by scattering light rays. The translucent material spreads the light in many directions. This makes the light source appear larger. Larger sources create softer light with gentler shadows.
What's the Proper Way to Use a Diffuser?
Position the diffuser facing your subject. Keep it close for maximum softness. Adjust your light source power to compensate for lost light output. Check your results. Make adjustments as needed. Add reflectors for fill if shadows are too deep.
What Is the Purpose of a Flashlight Diffuser?
A flashlight diffuser softens the harsh beam from a flashlight. It spreads the light over a wider area. This is useful for camping, photography, or any task where soft, even light helps. It reduces glare and bright spots.
Final Thoughts
Learning how to use light diffusers changes your photography. Hard light becomes soft light. Harsh shadows become soft shadows. Ordinary shots become professional.
Start simple. Get a basic diffuser. Practice with natural light from a window. See how the diffuser changes the light quality.
Then expand. Try umbrella diffusers with a speed light. Set up off camera flash with a softbox. Experiment with different angles and distances.
The best light is often diffused light. It flatters your subjects. It creates depth without harshness. It gives you beautiful light in almost any lighting situation.
Now go practice. Your photos will thank you.